Gray Replacement: Refresh Your Space with New Colors
When tackling gray replacement, the act of removing or covering gray paint and finishes with a new shade. Also called gray paint swap, it usually begins with evaluating the paint color, the current hue on walls, ceilings or trim you’re working with, and considering the overall interior design, the style, furniture and lighting that shape a room’s look. A successful home renovation, any project that updates structure or finishes often uses gray replacement as a quick visual upgrade.
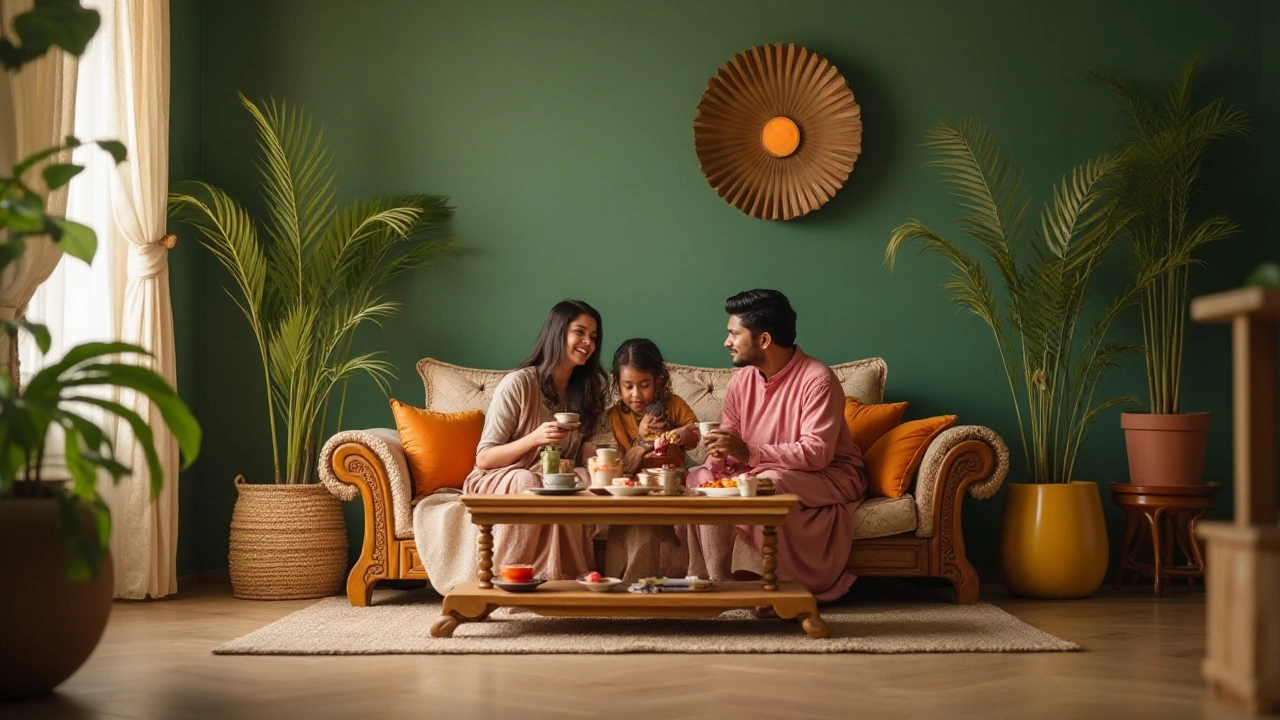
Why swap out gray in the first place? Gray can make a room feel smaller or colder, especially when natural light is limited. Replacing it with a warmer hue or a lively accent can instantly lift the mood and make the space feel larger. In fact, gray replacement influences perceived room size, a core principle of interior design that designers rely on when planning layouts.
Preparation is the backbone of any paint project. Start by cleaning the walls to remove dust, grease, or mold—these contaminants can prevent adhesion. Next, repair cracks or dents; a smooth surface ensures a uniform finish. Applying a high‑quality primer creates a neutral base, which is crucial when moving from a dark gray to a light color. This step connects directly to the broader home renovation process, where proper wall finish preparation avoids future touch‑ups.
Choosing the right new hue is where color theory meets personal taste. If you want a calm atmosphere, consider soft neutrals like beige or warm whites that complement existing furniture. For a bold statement, deep blues or rich greens contrast beautifully against gray’s neutral backdrop. Remember, the chosen paint color should harmonize with the room’s lighting—natural light amplifies light shades, while artificial lighting can warm up cool tones.
Application methods vary based on the finish you desire. Brushes are best for trim and corners, rollers cover large flat areas quickly, and spray guns deliver a flawless, professional look for textured walls. Matte finishes hide imperfections, whereas satin or semi‑gloss add durability to high‑traffic zones like hallways. The type of finish you pick ties back to the original paint color, affecting how the new shade reflects or absorbs light.
After the paint dries, fine‑tune the look with accessories. Updated lighting fixtures can highlight the new color’s depth, while coordinating cushions, rugs, or artwork reinforce the design theme. Even small changes—like swapping out metal hardware for brushed brass—can enhance the overall aesthetic, showing how interior design continues to shape the success of your gray replacement project.
Now that you’ve got a clear roadmap—from prep to final décor—explore the collection below. You’ll find detailed guides on bathroom makeovers, sofa sizing tricks, foundation fixes, and more, all designed to help you tackle any home improvement challenge with confidence.