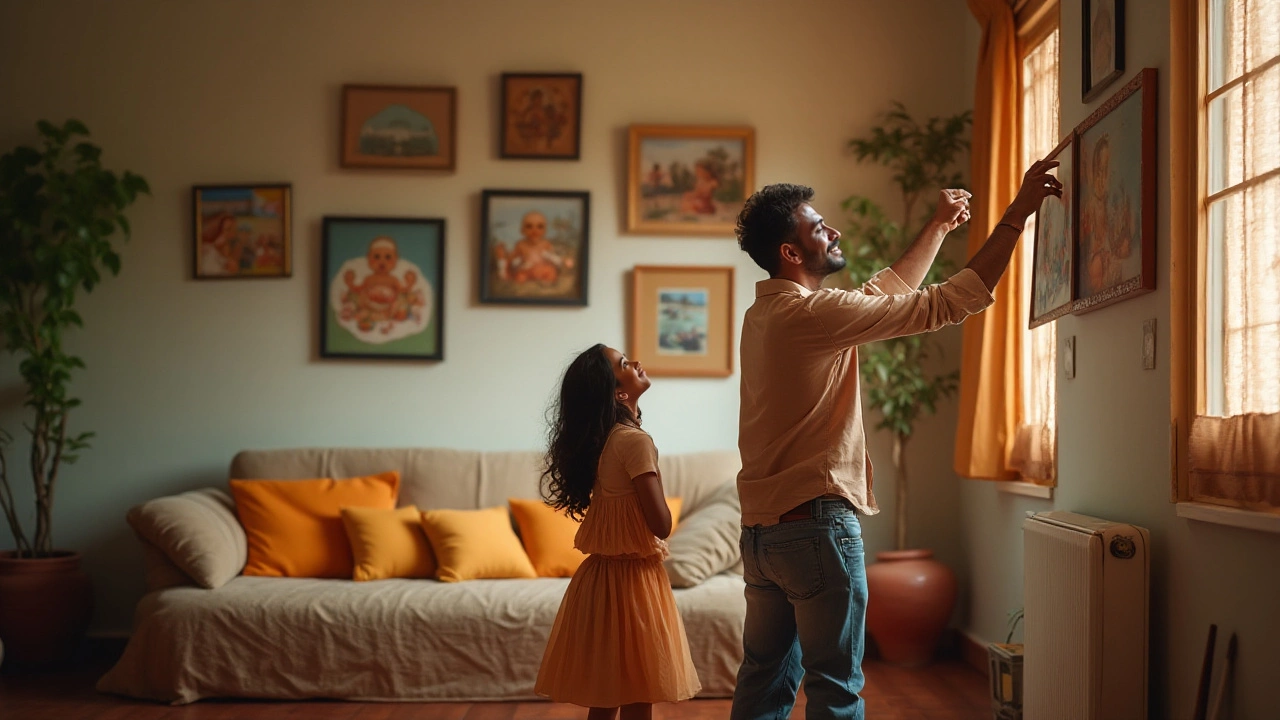
Hanging a picture perfectly can be transformative, altering the feel of a space more than you might think. Yet, this seemingly simple task often leaves many pondering over one crucial question: What's the perfect height? The answer to this involves a bit of art and science. The so-called 'magic number' or 'eye-level standard' helps guide this process, ensuring your pieces are admired in the best possible way.
Most agree that pictures should be hung so that the center of the image is at an average eye level – approximately 57 to 60 inches from the floor. This number might vary slightly depending on the room's purpose and the average height of the people in the home. By aligning with this guideline, art becomes naturally engaging, inviting a gaze that feels organic and deliberate.
As you dive into this subject, you'll find that various factors like room dynamics, frame size, and art style can influence how and where artwork should be displayed. Read on to discover tips and tricks that demystify the art of picture-hanging, allowing your walls to tell a story in harmony and style.
- Understanding the Ideal Hanging Height
- The 57-Inch Rule
- Adjusting for Different Rooms
- Considerations for Multiple Frames
- Choosing the Right Hardware
- Common Mistakes to Avoid
Understanding the Ideal Hanging Height
When it comes to perfecting the art of hanging pictures, determining the ideal height is often a matter of both science and style. The generally accepted standard within the art world is to position art such that its center hits around 57 inches off the ground. This measurement is perceived as the average human eye-level, making hanging pictures at this height the most visually appealing and accessible for an average person. It allows the artwork to reside naturally within a viewer's line of sight, encouraging a connection between the observer and the piece.
However, this standard isn't absolute. It can inform placement decisions but should adjust based on specific circumstances such as the height of the room or the furniture in it. For instance, when pictures are displayed over a sofa or bed, it's often best to hang them lower so the gap between the furniture and artwork is not too expansive, ideally around six to eight inches above the furniture. This keeps the artwork connected to the surrounding decor, creating a cohesive aesthetic rather than a jarring separation.
A curator at the Metropolitan Museum of Art once remarked, "Great art is about breaking rules, but first, you need to learn them." This wisdom highlights the balance needed in decoration; knowing the guiding principles allows you to vary them with intent and flair. Experimentation while hanging pictures often leads to custom heights that tailor fit to the nuances of each room, whether it’s a high ceiling in a Victorian home or a cramped room in a modern apartment.
Moreover, it's essential to consider the type of wall art being hung. If the piece is particularly large or features a striking focal point, ensuring this is at eye level could necessitate adjustments to the usual rule. Similarly, gallery walls, which combine multiple pieces, may require a slightly different strategy where the central portion of the cluster conforms to the eye-level guideline while varying heights maintain visual interest.
Overall, understanding and utilizing the ideal hanging height requires a combination of guidelines and personal judgments. Sometimes, even a slight shift in hanging height can transform how a picture is perceived, emphasizing or downplaying certain elements as needed. While these rules help create balance and consistency, artistic vision and room functionality will often determine the final placement.
The 57-Inch Rule
In the world of home decor, one often hears about the '57-Inch Rule' when it comes to hanging pictures, and for good reason. This guideline suggests that the center of your artwork should be 57 inches from the ground. This standard is based on the average human eye level and is used by many professional galleries and museums. Aligning with this height ensures that art is accessible and eye-catching without causing straining or awkward gazing angles. The universal appeal of this rule is its simplicity and effectiveness, providing a great starting point for arranging art in your home.
When applying the 57-Inch Rule, start by measuring 57 inches up from the floor. This point marks the exact center where your picture's midpoint should fall. It’s worth noting how many curators, like those at the gallery of the Modern Art Institute in Chicago, employ this guide. Experts there claim that keeping the center consistent creates a sense of balance and continuity that's pleasing to the eye. Yet, as you might know, homes are filled with varying heights of furniture and room dynamics, impacting how you perceive art height.
Consider, for example, a room filled with low-profile furniture. Here, the 57-inch center may cause pictures to hang awkwardly above a sofa or sideboard. In such cases, it may be advisable to adjust slightly, perhaps aligning more with the top third of the wall space that sits above seated eye level. This nuanced attention can create synergy between your furniture and artworks, enhancing overall aesthetic harmony. The art of hanging pictures is as much about feeling as it is about measurement.
There may also be cases where your personal preferences or the specifics of a space ask you to deviate from this guideline. High residential ceilings, for example, might require artworks to be a few inches higher, emphasizing the openness of expansive walls. Always consider your artwork itself—larger pieces often demand a bit more visual space to breathe. As tempting as it might be to solely rely on this rule, adaptability is key to creating an engaging display.
If you're intimidated by the process, don't be! Remember, the 57-Inch Rule is a starting point. Let your creativity guide you. Experiment with different heights to see what feels just right in your unique space. Incorporate the 57-Inch Rule into your toolkit for wall art, but don't hesitate to adjust based on the stories you want your walls to tell. After all, the goal is to create a visual journey that feels just as cohesive and personal as any great work of art. In the words of Jean-Luc Godard, "Art evokes the mystery without which the world would not exist."
Adjusting for Different Rooms
Every room has its own personality and purpose, and this should guide your decisions about hanging pictures. The way you display art can greatly enhance the mood or functionality of the space. For instance, in living rooms where people gather for conversation and relaxation, it's crucial that paintings or photographs draw the eye effortlessly, yet without being overbearing. Here, following the '57-inch rule' for the central height can create a balanced visual seam that encourages interaction without distraction. However, the placement might need adjustment if you have high ceilings or if your seating is lower to the ground.
Consider the wall art above a couch or a sideboard in the living room. It should not only align with the furniture but also with the general theme of the decor to maintain visual harmony. An informal survey show that most decorators suggest a height where the art is at least six to eight inches above the furniture. Such spacing ensures that the art does not seem like it’s floating or disconnected from the furniture below. In dining rooms, art is typically hung lower so that it maintains eye level when the audience is seated.
In a bedroom, especially over a bed's headboard, the art should exude calmness and not disrupt the relaxation vibe. Pieces that reflect personal tastes fit well in these intimate spaces. Home decor experts often recommend that artwork above beds should be hung high enough not to touch pillows but not too high as to seem isolated. The key is comfort and security, ensuring what lingers above is as peaceful as the room itself.
Hallways and corridors tend to be tighter spaces, which are perfect for creating a gallery feel with multiple frames. Uniformity in frame style and size can add to the slick-running appearance, yet it's important to mix them with personal touches. A good tip is to align art in a straight line or staggered arrangement to draw the eye along the passage. Given the narrowness of these spaces, an alignment closer to eye level often proves captivating.
Bathrooms may not conventionally come first to mind when considering spaces for hanging pictures, yet they offer delightful opportunities to introduce art. Choose humidity-resistant frames, hang them in less moisture-prone spots of the room, and consider artworks that are serene and refreshing, possibly reflective of water themes.
As interior designer Nate Berkus noted, 'Whether or not you can window gaze all day, what’s outside is never going to complement your wall art in the same way that a well-placed piece fits with its home.'Finally, always adjust the frame height depending on the type of room, the ceiling height, and personal taste. Remember, art placement is about making the most of where each piece is placed to add value and comfort to your home without overshadowing the space's intrinsic purpose.
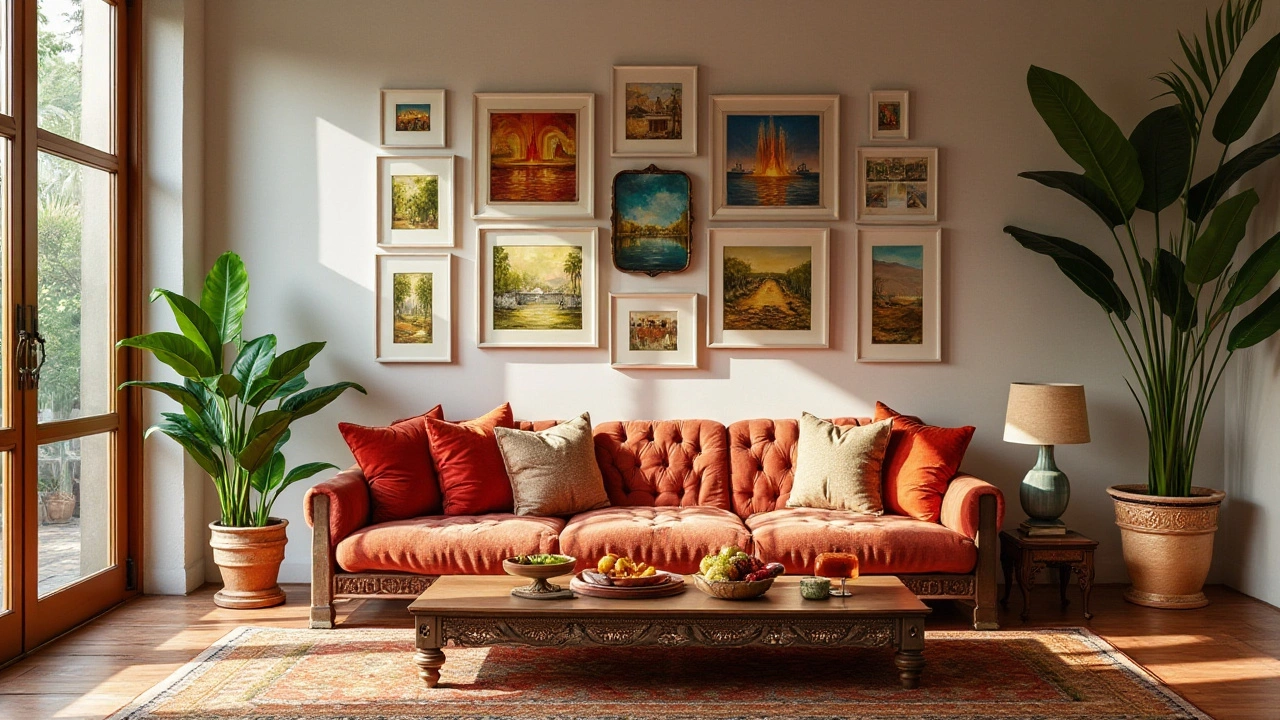
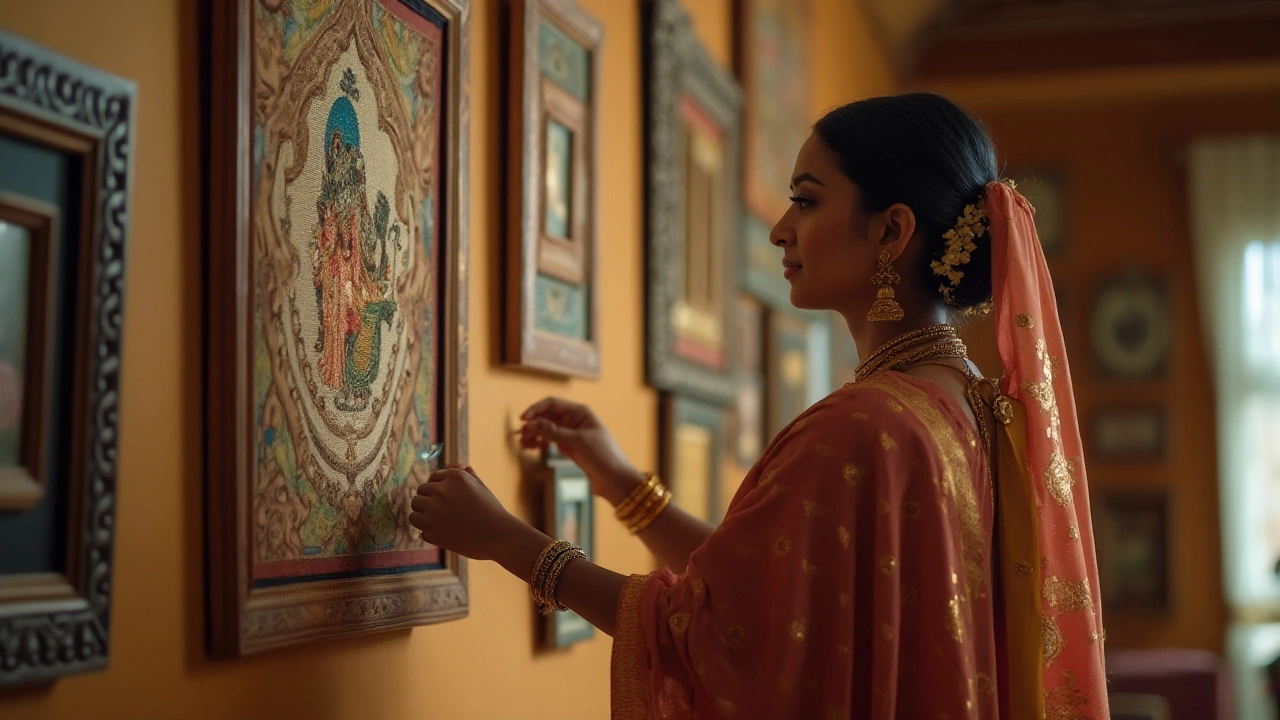
Considerations for Multiple Frames
When planning to hang multiple frames on a wall, the task can quickly shift from being simple to quite complex. It requires careful thought and planning to ensure that the display looks cohesive and aesthetically pleasing. One of the most important things to remember is to treat the multiple frames as if they are a single cohesive piece of art. This approach simplifies alignment and helps maintain balance across the wall space. Begin by laying out your frames on the floor to explore different configurations and find an arrangement that is visually harmonious. Consider spacing as well as the size and shape of each frame to ensure a balanced horizontal and vertical symmetry.
The 57-inch rule still applies as a guideline for the center of the entire arrangement rather than each individual frame. To get this right, you need to find the vertical and horizontal midpoint of your piece as a whole. This may require some trial and error as you adjust for different frame sizes or asymmetrical arrangements designed for character and quirky charm. It’s not just about having your frames at the same height, but ensuring they flow visually from one piece to the next. Try to keep around an equal distance between frames, usually about 2 to 3 inches apart is standard, though your room's dynamic might allow for some flexibility.
Another aspect to account for is the diversity within your frames. Combining various types of artwork—photographs, prints, and paintings—might require consideration of color schemes and thematic elements to maintain cohesion. A tip is to focus on a unifying theme, such as color or subject, to create consistency. While planning the layout, hanging a larger frame either at the center or at one of the focal points helps anchor the arrangement. Heidi Caillier, an interior designer, puts it aptly, “Layering is key in creating a dynamic and visually interesting space. Don’t be afraid to mix and match different frames and styles.”
When it comes to practical steps, use a pencil to mark where the corners of each frame will land. This will prevent you from needing to make unnecessary adjustments after drilling. Hanging tools and accessories such as painters tape can help visualize arrangement boundaries without committing to nails. If your frames are of variable weight, investing in diverse hanging hardware like picture hooks, Velcro, or adhesive strips appropriate for different surfaces becomes paramount to ensure security. These tools can prevent shifting and damage, especially in rental spaces where wall damage may lead to complaints. Finally, consider lighting options; spotlights or ambient light can dramatically transform the experience of your wall art.
Choosing the Right Hardware
When it comes to hanging pictures on the wall, the importance of choosing the right hardware cannot be overstated. The hardware used not only determines the stability of the piece but also influences the ease of installation and the type of wall the art can be supported on. Your choice should take into account the weight and size of the artwork, as well as the wall material. Picture hooks, wall anchors, and screws are among the most common options. Traditional picture hooks are great for lighter frames, often holding up to 25 pounds each. However, for heavier art pieces, you might want to look into wall anchors that can secure between 50 to 100 pounds, especially for drywall installations.
Screws and Anchors
For substantial art, screws combined with anchors provide a robust solution, particularly for unpredictable drywall. Ensure you pick an anchor size that matches the screw, increasing the consistency and security of the hold. There are several types of anchors, such as toggle bolts and expanding plastic sleeves, each serving specific art weight needs. Using a stud finder can be advantageous, guiding you to places where a screw might hold more securely in the wooden framework behind drywall.Consider the Material
If you're working with brick or concrete walls, your solutions might differ. Masonry nails or specialized adhesive hooks designed for such surfaces are ideal. Each method offers unique benefits, so assessing the compatibility with your wall type is essential. Consider how permanent you want your installation to be; adhesive options, while easier to install, may not support heavy items and may leave a residue upon removal."The choice of hardware can be as distinctive as the art itself," posits Jane Smith, art installation specialist. "Making informed decisions ensures the longevity and stability of your pieces, good hardware is as much a part of the art as the frames and images themselves."
Levels and Other Tools
Beyond just the mount, the implementation of complementary tools can make all the difference. A level, for instance, saves your alignment strategy; it verifies that every frame sits straight and even, preventing the dreaded look of crooked frames. It’s small touches like using a level that can turn a basic arrangement into a professional-looking setup. Laser levels, although a higher investment, often become a go-to for enthusiasts aiming perfection in multiple-frame displays.The Final Touch
A final note on hardware choices: always consider flexibility. Adjustable hooks or art hanging systems allow for easy height shifting without reinventing the wheel. This flexibility is crucial if you plan to rethink your wall art frequently, offering a nondestructive way to refresh your view. Whether a single frame or complex gallery, selecting the right hardware ensures that your styling ambitions don't outwit your setup's safety and reliability.With the understanding of the right hardware, you can confidently create a vibrant, personalized wall without worrying about the underlying support. Just remember, the time spent understanding your material and weight nuances directly equates to lengthier enjoyment and fewer mishaps in your home's display.
Common Mistakes to Avoid
When it comes to hanging pictures, even seasoned decorators can overlook some key elements that might affect the aesthetic flow of a room. One common error is positioning artwork too high. Often, homeowners tend to place pictures at the top portion of a wall, assuming it draws attention more effectively. However, art hung too high often becomes disconnected from the surrounding furniture, leading to an imbalanced look. The magic number of 57 to 60 inches as the average eye level is a tried-and-true guideline that harmonizes your wall art with both eye-level and furniture.
Another frequent mistake is not considering the wall's scale relative to the artwork. A small painting on a vast wall may look awkward and lonely, while a massive piece might overwhelm a small space. It's essential to find a balance that complements the room's dimensions and does not compete with other decor elements. Grouping smaller pieces as a gallery wall is a great way to fill space and create a focal point when you don't have large picture art available.
Using inappropriate hardware is also a pitfall that could cause both aesthetic and practical problems. Lightweight frames might do well with hooks or nails, but heavier objects need sturdy anchors or wall studs to ensure stability and safety. Falling pictures can damage both the wall and the artwork itself, and more importantly, it's a risk for household members. Thus, it's crucial to match the type of fastener with the frame's weight and wall material.
"Proper planning prevents poor execution. Always measure twice before hammering the nail," advises renowned interior designer Nate Berkus, echoing the old craftsmanship adage about the importance of precision in design tasks.
One might also neglect the importance of lighting and context. Good lighting can transform an art piece, enhancing colors and highlighting textures. Natural light is superb, but it can sometimes lead to fading, so protective glass might be needed for preservation. If you're placing art in a sunny room, consider these factors and adjust accordingly. Also, be mindful of reflective surfaces next to intense or direct light sources, which can cause glare and obscure the art.
Above all, the biggest mistake is not trusting your instinct. While guidelines for hanging pictures are helpful, your space should reflect your personal taste. Art is subjective, and the rules are there to enhance, not constrain your creativity. Adapt general advice to fit your unique living area, and don't be afraid to experiment with different arrangements until it feels just right.